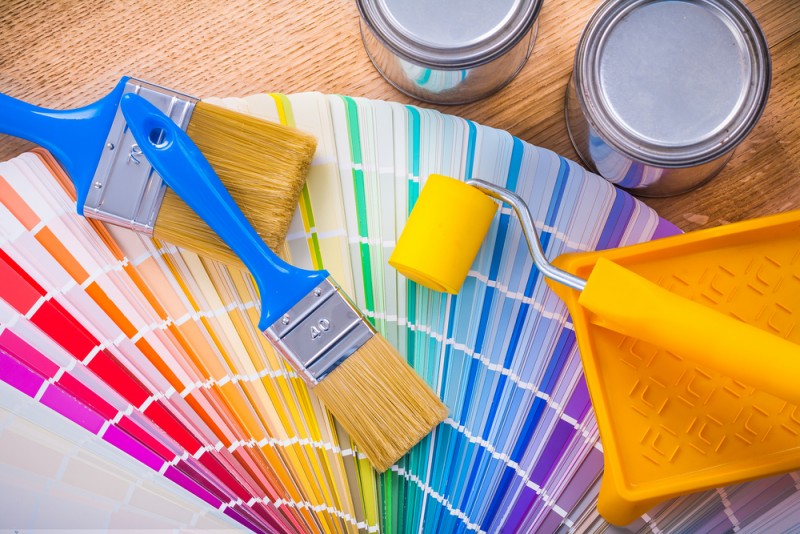
 Among the choices every new homeowner must make is whether to paint or not. Some people are happy with the previous owner’s style, but many of us want to make our own marks on the house. It’s often recommended that you consider repainting at least a few of the rooms to make the house feel like your home, but there are some things to consider as you go.
Before or After You Move-In
There are pros and cons to both options. Painting before you move in will help keep the mess away from your belongings, and it also is easier to clean up any mistakes like paint splatters on the floor or resanding and repainting uneven areas. However, if you don’t have a good sense of what your furniture and other decorating choices will look like in the room, you might pick colors that don’t work well together. Painting after you move helps you understand what things will look like, but remember that it will take longer to get around to the project when you have to consider moving furniture out of the way later. There are several apps that can help you make informed choices by taking images of your rooms and recoloring them. It’s also a good idea to talk to professionals at any major hardware store or paint supplier. If you have pictures of your furniture.
Prep the Space
Get everything you need together before you start. Make sure your drop clothes, tray, extra brushes, gloves, and roller and roller extensions are close at hand. Tape over trim, outlets, and whatever else you’re going to protect. Have cleaning supplies and sanding tools there, too, to help fix your mistake. And be sure you’ve got enough paint for the room–if you aren’t sure, it’s a good idea to have too much than too little. Paint usually can be stored for five years, and it’s likely you will need a touch-up in that time.
Once everything is together, try to make the walls as flat as you can, using sanders, spackle, and other such techniques to remove unsightly bulges, holes, or dips. Clean the walls if there was dust, spiderwebs, mildew, or grease on them. Check to see if the walls are primed–if not, white primer should be spread on them first. You can get paints that self-prime, but always ask at the store if they’ll do the job.
Paint Edges First
This can be called “cutting in” or “trimming in” the edges. Every close space, corner, or sides of the walls should be painted with a smaller brush or paint edger–a small rectangular pad with wheels to guide the edges in a straight line. Get all around, making sure you get a solid coat wherever the roller won’t be able to reach easily or cleanly.
Paint with Roller
Rollers really are custom-built for the job, and they’re a good way to cover a big surface. Make sure to really load the roller with paint–try to saturate it until the paint threatens to drip out of it. Then apply it to the wall, starting with a few quick swipes. Many people suggest drawing a letter, suxh as X, N, or Z. The idea is to get a roughly equal amount of paint in about a 2′ x 2′ area. Then you’ll spread the paint as smoothly as you can to fill in the space. You can go either side-to-side or top-to-bottom, but you should pick one and stick with it to avoid streaks or going too light in some spots. Give it a few moments, and then smooth over it again.
You may want a second coat later, after the first one dries. Check to see how the colors look, whether there are any areas that got missed or smeared, and if so, just follow these techniques.
Clean Up
Make sure the paint is dry before you remove drop clothes and masking tape. Rollers are hard to wash out, which is why they are so cheap to replace. Brushes, though, should be let to soak in the appropriate liquid (check the paint container for directions) and then let to dry before you use them again.